Learn how to use the RingCentral SDK for Swift. Click the "Start Tutorial" button below to begin.
Start TutorialCall logs Analytics for iOS
This tutorial shows you how to build an iOS app and use the RingCentral Swift SDK to read call-log data from a RingCentral account then display the information on the screen.
Prerequisites
- You must have a RingCentral developer account. If you don't have one, click here to create a free developer account.
- You need to have basic knowledge of how to build an iOS app.
You also have to create a RingCentral app with the "Read Call Log" permission. And retrieve the AppKey and AppSecret for using in this application.
Create a new iOS project
Create a Single View app and give it a name “Call Analytics”.
Open Terminal window and browse to the “Call Analytics” folder and run the following command
$ brew install carthage
If you already had carthage installed, you may want to update with the latest version
$ brew update carthage
Create a "Carthage" file under the "Call Analytics" folder and copy/paste the following line to the file
github "ringcentral/ringcentral-swift"
Now in Terminal window, run the command below:
$ carthage update --platform iOS
Add RingCentral framework and it's dependencies to the project
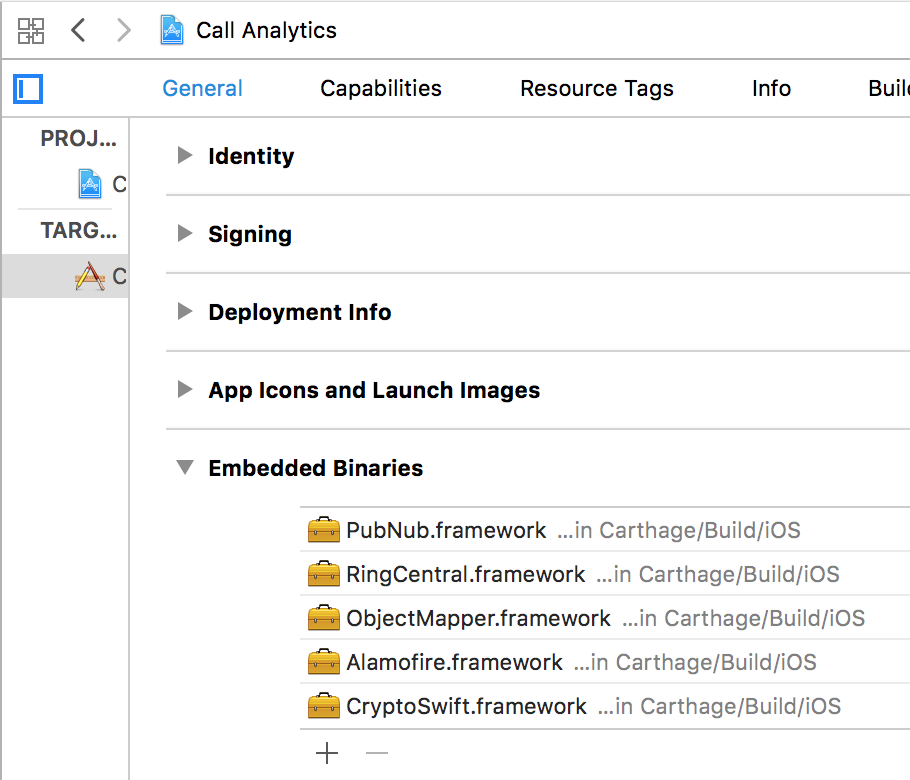
Open the iOS project in XCode and goto the project settings. Select the "General" tab and from the “Embedded Binaries” section, click the + button and browse to the “Carthage/Build/iOS” folder under the project and add the frameworks to the project as shown below.
Specify RingCentral app credentials
Add a new file named “Credentials.swift” to the project. And specify the RingCentral AppKey and AppSecret.
Create a RingCentral SDK instance
Open the AppDelegate.swift file. Define a RingCentral client instance and initialize it with the AppKey and AppSecret.
If your RingCentral app is in production, change the production flag to "true"
rc = RestClient(appKey: Configs.AppKey, appSecret: Configs.AppSecret, production: true)
Create a login view
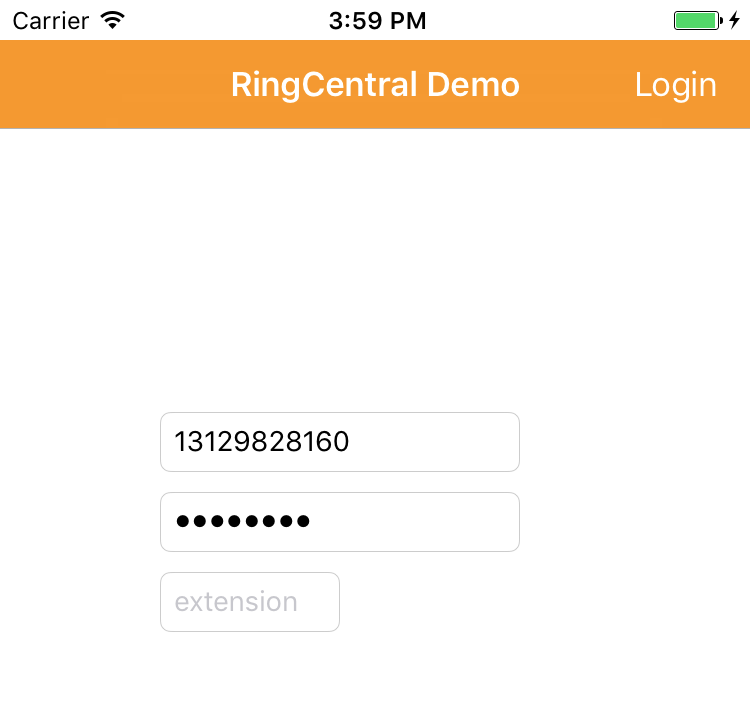
We need a login view for users to enter their login credentials for login to their own RingCentral account.
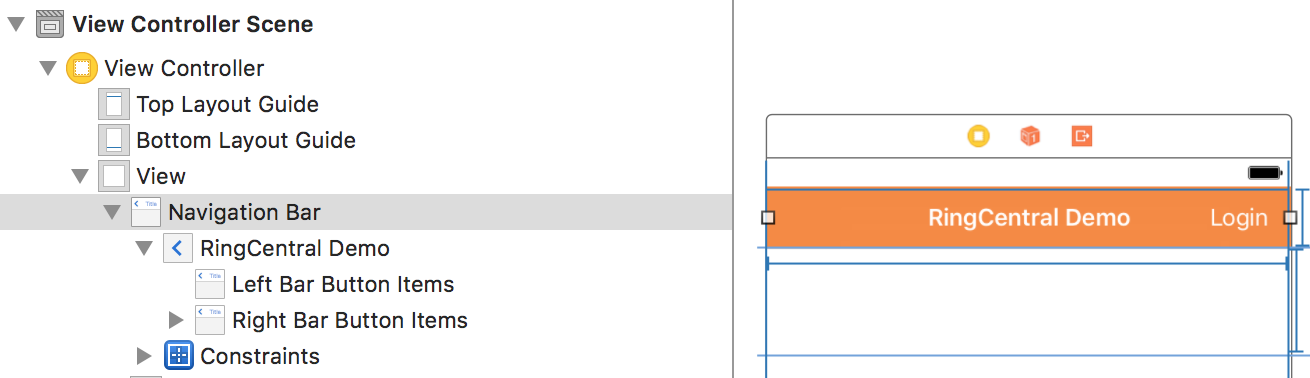
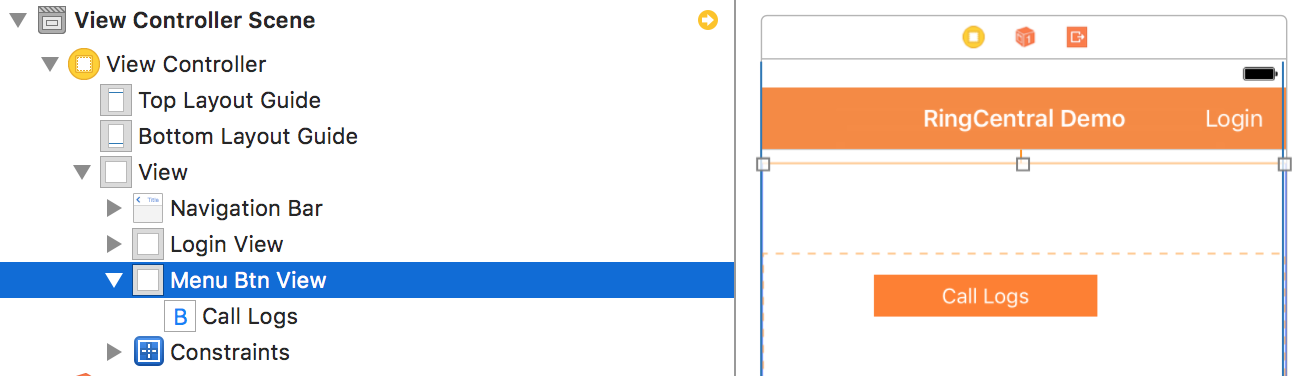
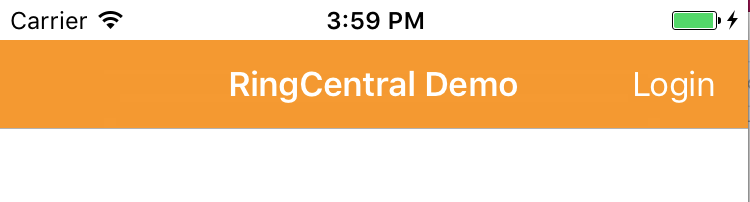
Define a navigation bar
Open the Main.storyboard then select the default View Controller and drag and drop a Navigation Bar and a bar button as shown below
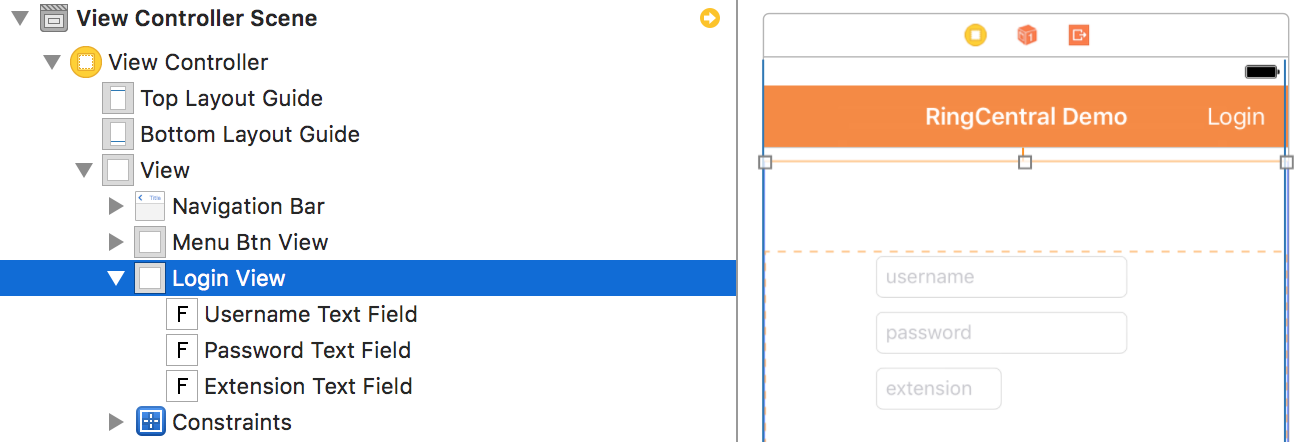
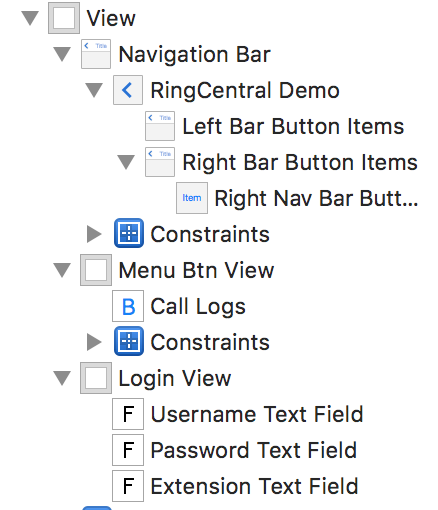
Define a login form
Then drag and drop a view container (UIView) to the main view, and add 3 text fields (UITextField) as shown below
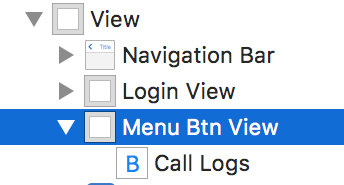
Define a menu button form
Now drag and drop another view container (UIView) to the main view, and add a button (UIButton) as shown below
Connect UIs to code
Now click the Assistant button in the Xcode toolbar and connect the UIs to code
Connect the Login button to code
The login button is the right button on the Navigation bar.
Connect the Call Logs button to code
The "Call Logs" button is the button inside the menu button form.
Implement the rightNavBarBtnClicked function
Inside the function, we implement code to login and logout. And we toggle the view between login form and menu button form accordingly.
Login
To login RingCentral account, we call the authorize() function passing the username, password and the extension if it is provided.
If login is successful, we toggle the view to show the menu button view and change the right navigation bar button text to "Logout".
Logout
To logout, we call the revoke() function and reset the access token, then toggle the view to show the login form and change the right navigation bar button text to "Login".
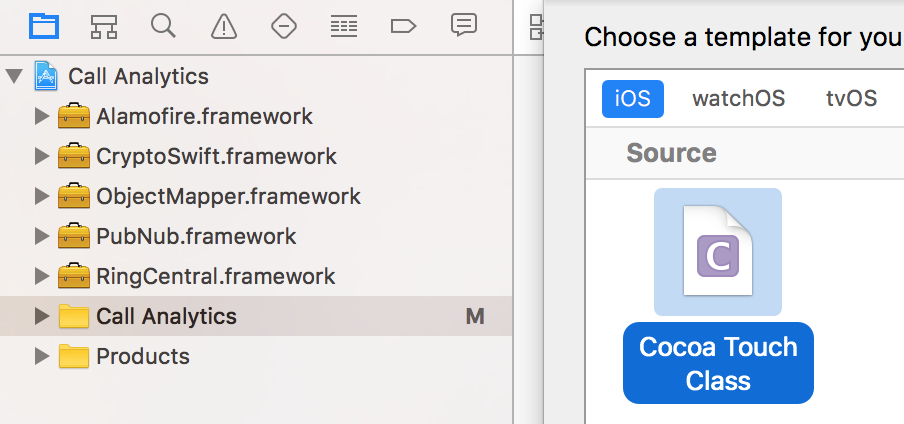
Create a CallInfoViewController
We create a new file and select the Cocoa Touch class type and name it CallInfoViewController
Create a CallInfoViewController
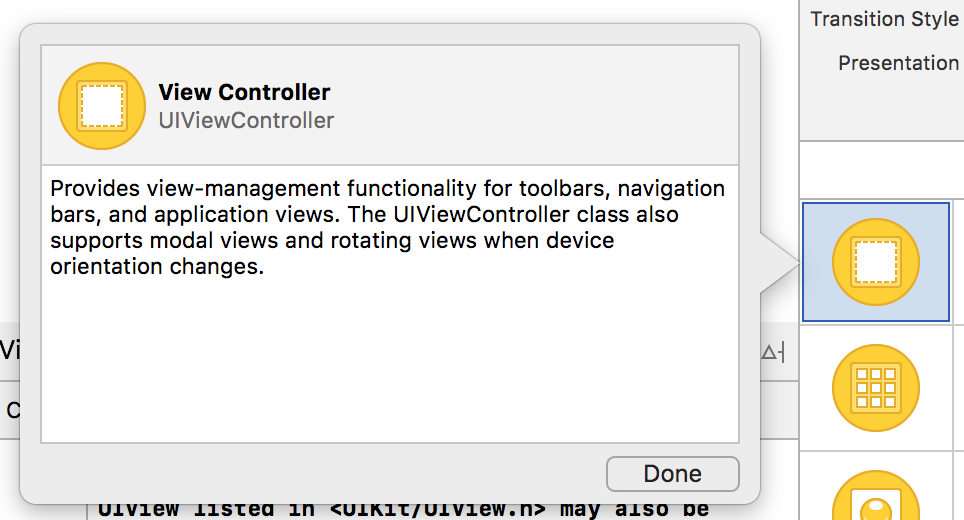
Then we open the Main.storyboard then drag and drop a new View Controller to the storyboard
Create a CallInfoViewController
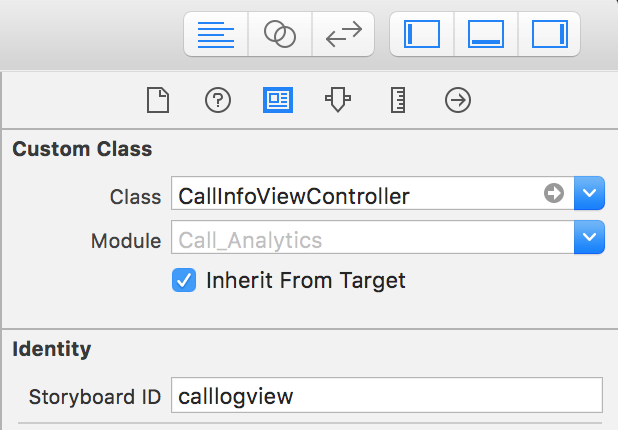
Now, click the Identity inspector then select the CallInfoViewController class and specify the Identity Storyboard ID as “calllogview”
Add UI components to the view
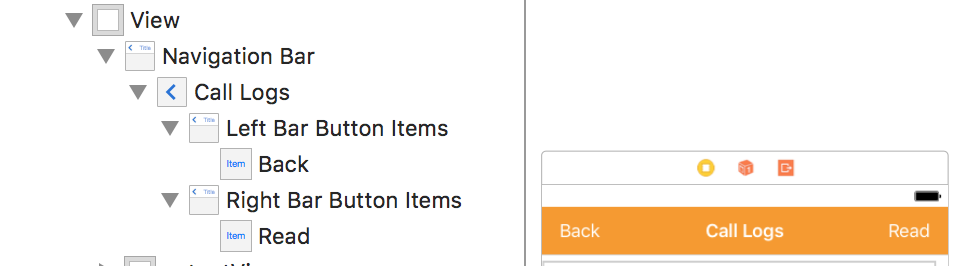
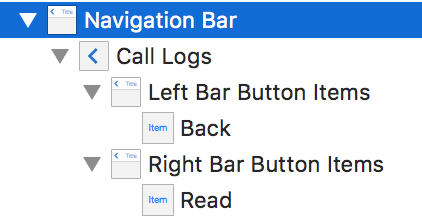
We create a navigation bar
Add UI components to the view
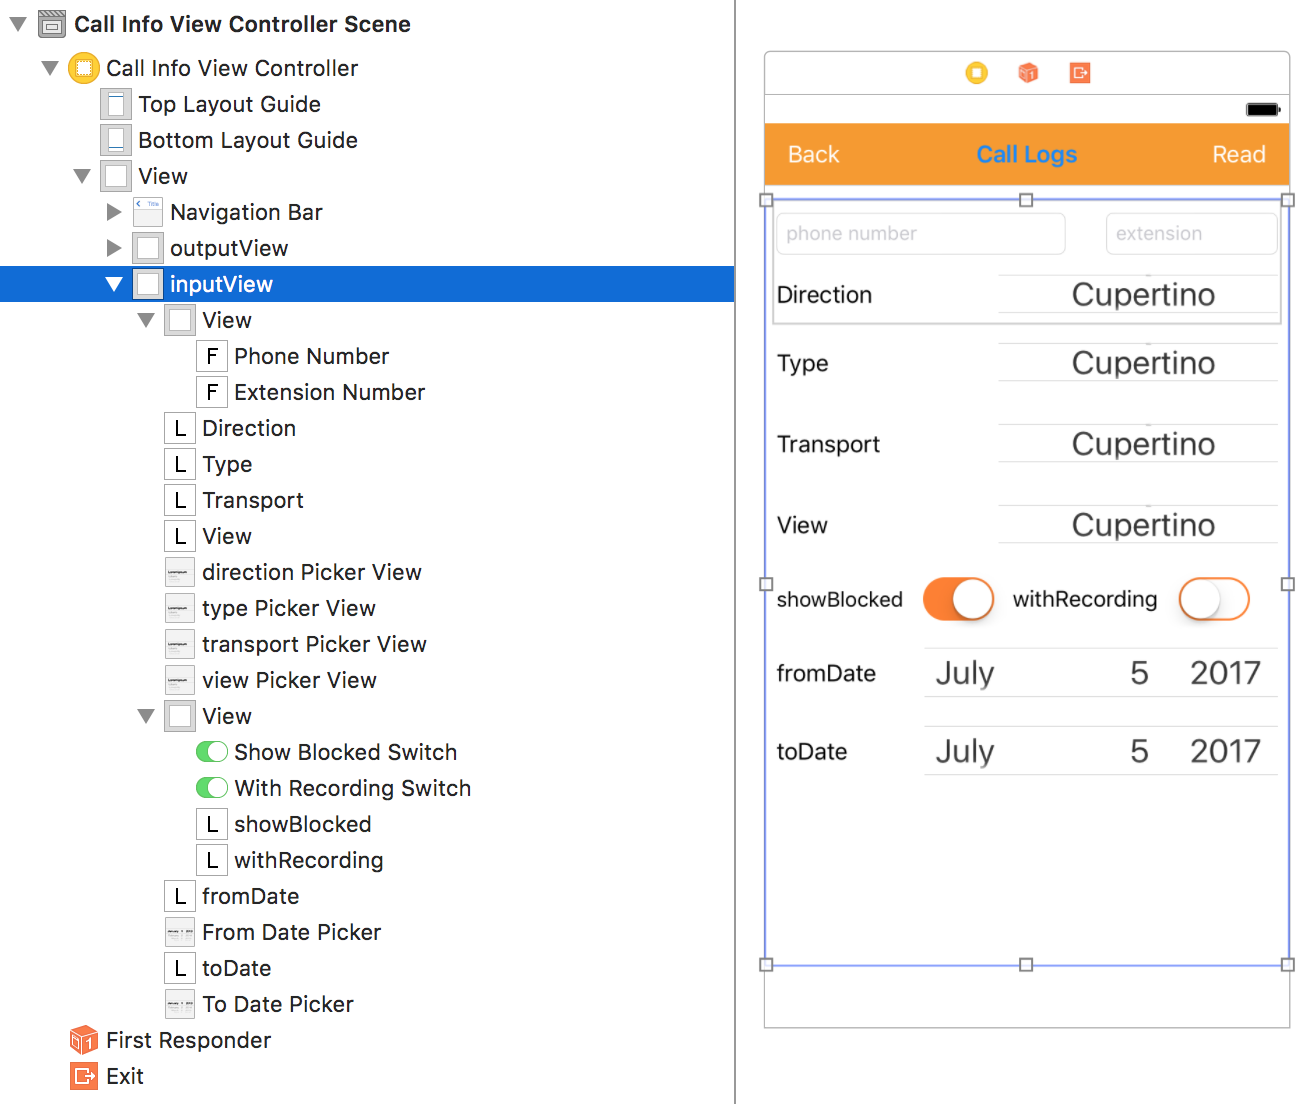
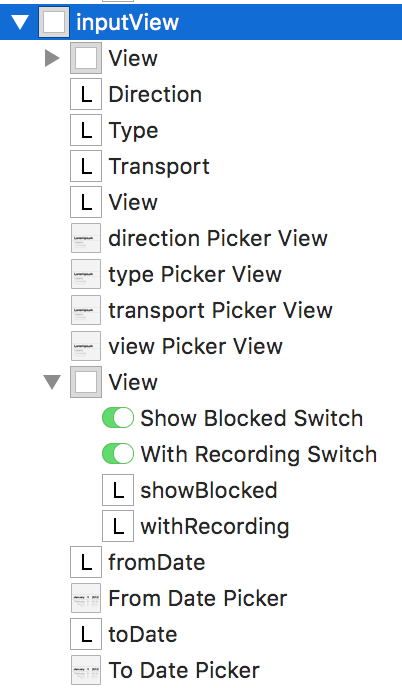
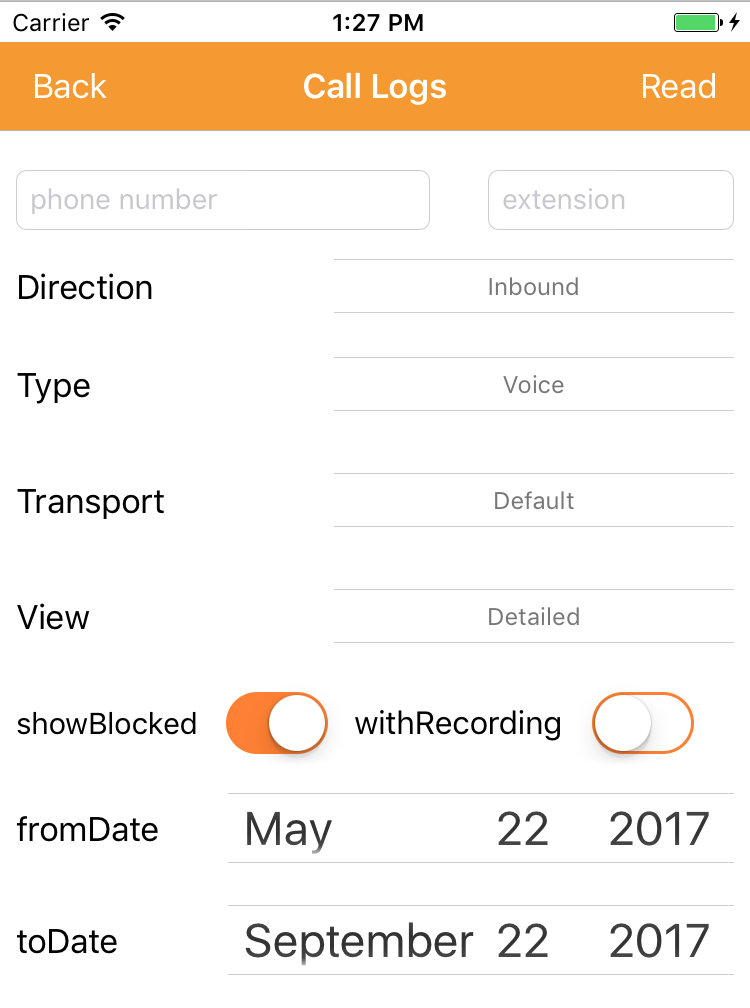
We create an input form, where we define UI components for users to specify reading parameters.
Add UI components to the view
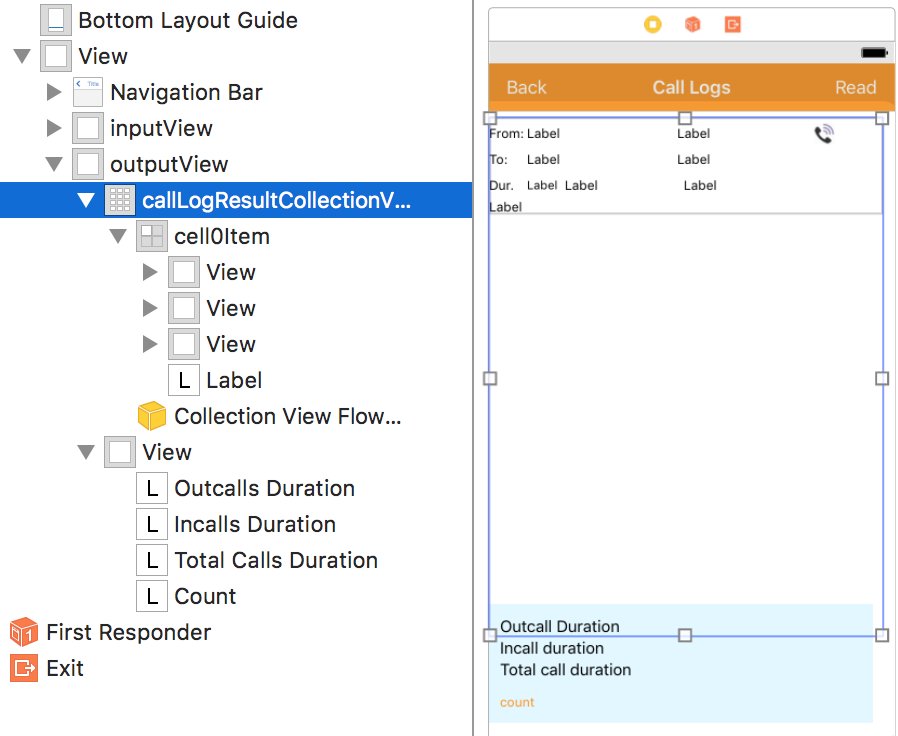
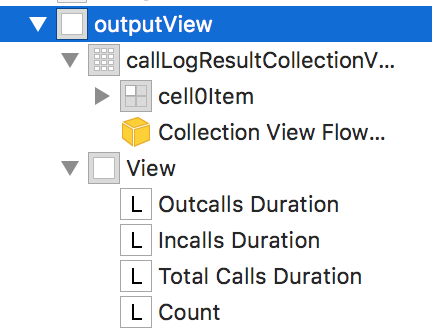
And we create an output view for displaying call-log data.
Connect the Navigation Bar buttons to code
Now click the Assistant button in the Xcode toolbar and connect the UIs to code
Connect the input view UIs to code
Connect the output view UIs to code
Define values for pickers
The valid values of input parameters are specified in RingCentral API reference.
- 'direction' is the direction of a call as incoming call or outgoing call
- 'type' is the type of a call as voice or fax call
- 'transport' is the type of call service as PSTN or VoIP
- 'view' is the read mode as Simple or Detailed
See CallLog API reference for details
Implement functions to collect user inputs
When a user specifies the parameters, we collect the inputs and keep them in the calllogReq variable.
Implement the ReadBtnClicked function
When a user clicks the "Read" button, we call the calllog() function to fetch the call log data from RingCentral server
Parse the call log response
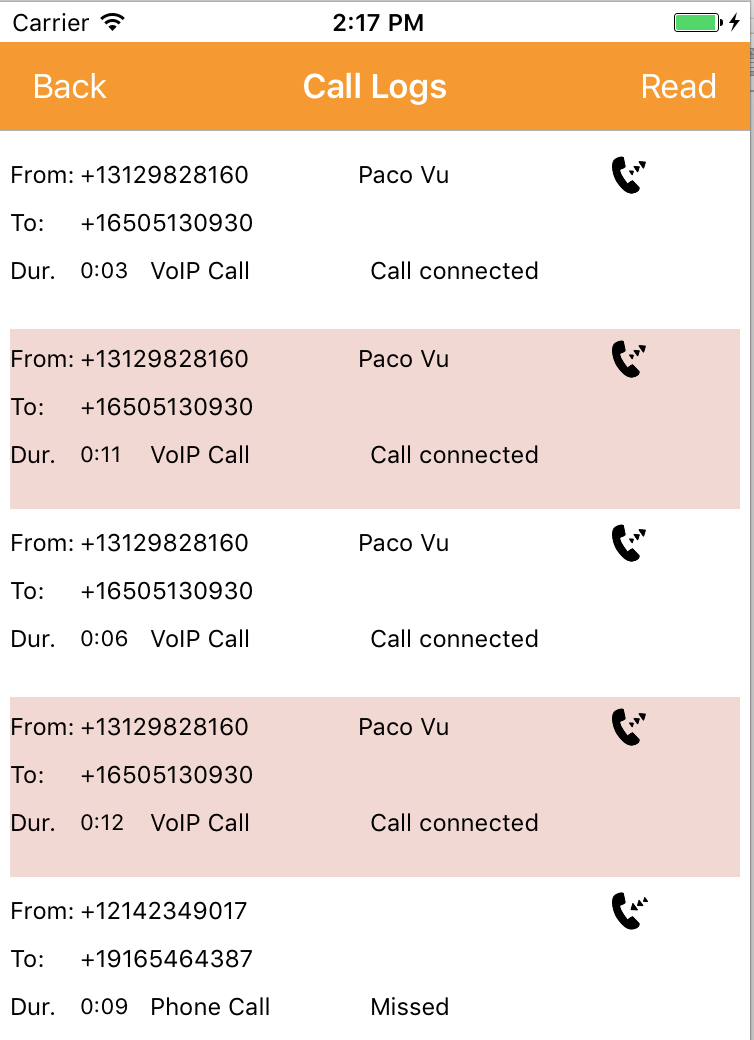
If the call was successful and we receive the response, we copy the records array to the callLogRecords array and populate the data to the list view.
Parse a call log record
We parse each record and display record information on the list.
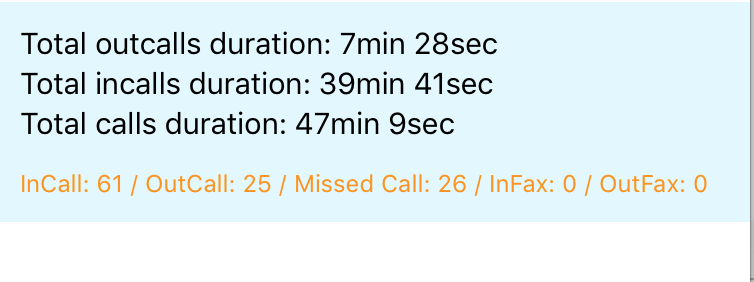
Analytics
We also analyze call types and display statistic numbers.